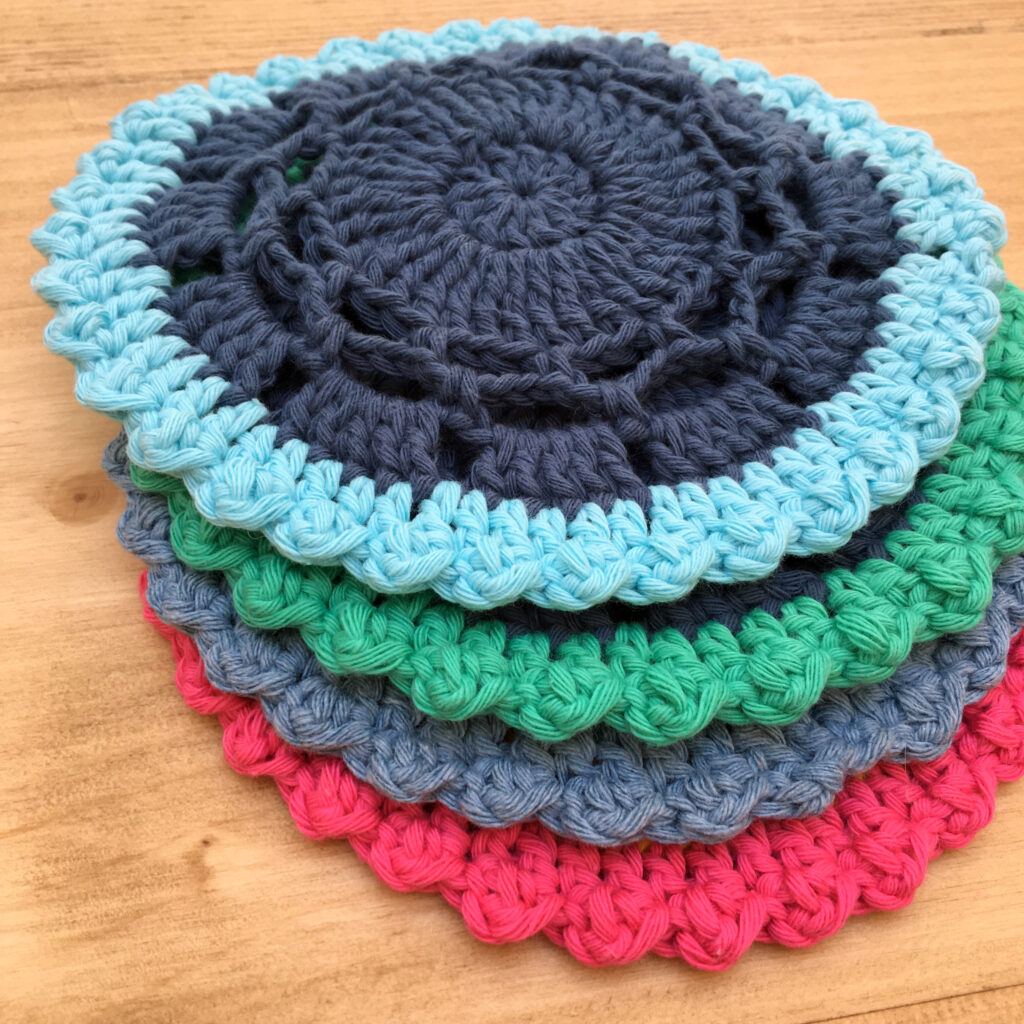
Using crisp cotton yarn, these coasters are a fun and practical way to practice using simple stitches. With bright pops of colour or neutral tones you can create a fresh, contemporary table setting ready for Spring.
Below I have chosen two patterns with two alternative edgings for you to enjoy making….
What you need:
- 2 x 50gms Aran-weight cotton yarn ( e.g; Drops Paris) or DK-weight (use two strands of yarn held together throughout) in contrasting colours.
- Size 5mm crochet hook
- Darning needle
Abbreviations:
dc ~ double crochet
tr ~ treble crochet
st ~ stitch
sl st ~ slip stitch
dtr ~ double crochet
Yarn around hook twice, then insert hook into next st.
- Yarn around hook and pull yarn through stitch (4 loops on hook)
- Yarn around hook, pull yarn through 2 of 4 loops (3 loops on hook)
- Yarn around hook, pull yarn through 2 of 3 loops (2 loops on hook)
- Yarn around hook, pull yarn through remaining 2 loops to complete stitch.
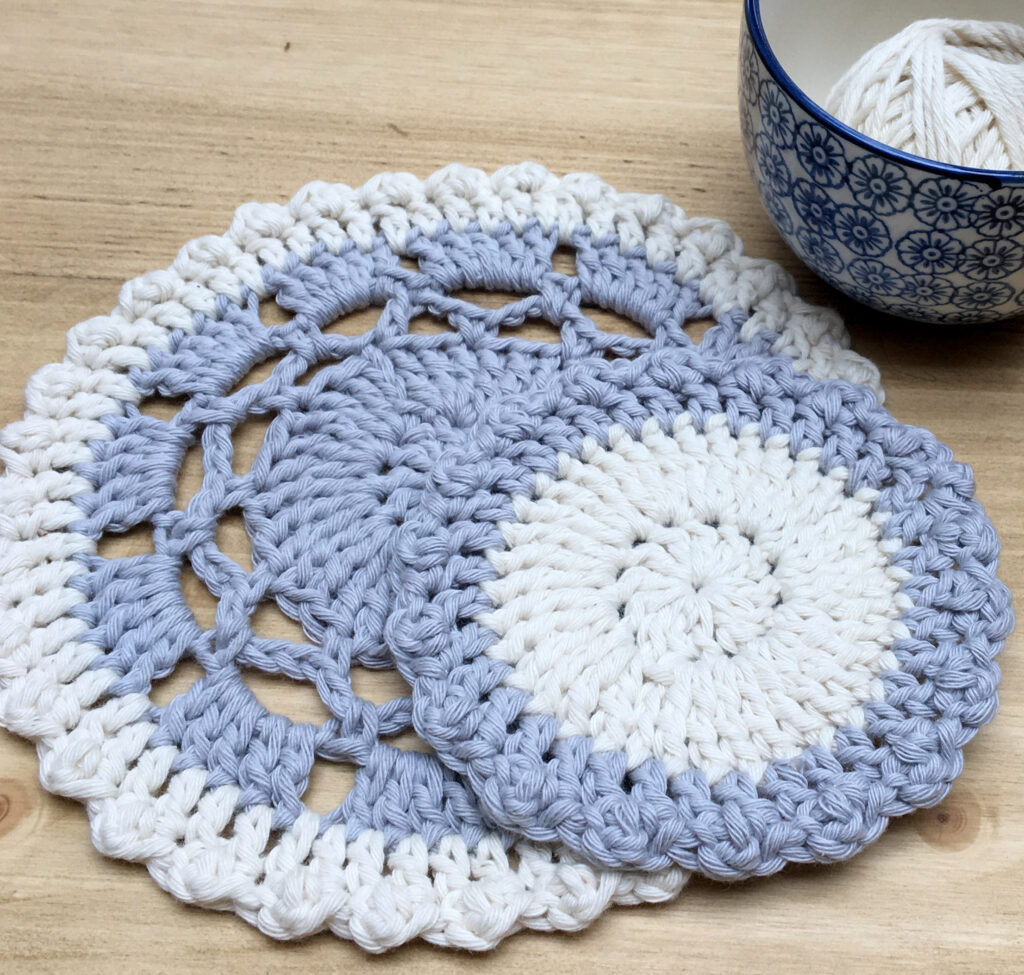
Cotton Coaster Pattern

Finished size 18cms
Begin with colour 1, using either
Magic Ring technique, ch 2 (does not counts as first st), work 12 tr into ring, join with a sl st in top of first tr st to complete round (12 sts).
Now jump to Round 2 to continue pattern.
Or
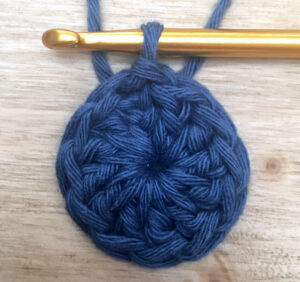
Round 1: Ch 2 (does not counts as first st), work 12 tr into ring, join with a sl st in top of first tr st to complete round (12 sts).

Round 2: Ch 3, (counts as first dtr) 2 dtr in same st, then work 3 dtr in each st to end of round. Join with sl st into top of ch-2 to complete round. (36 sts -12 groups of 3-dtrs).

Round 3: * Ch 4, miss 2 sts, 1 dc into next tr (between groups of 3-dtrs)*. Repeat from * to * a further 10 times, ch 2, 1 tr in base of first ch-4. (12 chain loops made)

Round 4: [Ch 4, 1 dc in centre of next ch-4 space] 12 times. Sl st in first tr made at beginning of round. (12 chain loops made)
 Round 5: Sl st in next ch-4 space. Ch 2 (counts as first tr), 4 tr in same space, ch 1. [5 tr, ch 1 in each ch-4 space] a further 11 times. Sl st in top of ch-2 to complete round. Fasten off (if using colour 2)
At this stage you can either continue with the same yarn or choose an alternative coloured yarn for border rounds.

Round 6: Continue with same colour or attach colour 2 in any st from previous round. Ch 2 (counts as first tr). Work 1 tr into each st and ch-1 sp around. Sl st into top of ch-2 to complete round.
For the final round you can use a simple picot stitch or add a mini-bobble edging.
Bobble edging

The Bobble edging and it is worked from the WRONG SIDE.
Round 7: Turn work over so that wrong-side is facing. Ch 2 (counts as first tr), sl st into next st. Work *1 tr in next st, then 1 sl st into the following st*
Continue from * to * alternating the stitches around the circle. Join with a sl st to first tr st. Fasten off.
Picot Edging

Round 7: With right-side facing. Ch 1 (does not count as first st) 1 dc into same st. Work *1 dc in next 3 sts, ch3, dc into 3rd ch from hook*.
Repeat from * to * around coaster. Join with a sl st to first dc st. Fasten off.

Cup Coaster Pattern
 Finished size 7cms
Begin with colour 1, using either
Magic Ring technique, ch 2 (does not counts as first st), work 12 tr into ring, join with a sl st in top of first tr st to complete round (12 sts).
Now jump to Round 2 to continue pattern.
Or
Round 1: Ch 2 (does not counts as first st), work 12 tr into ring, join with a sl st in top of first tr st to complete round (12 sts)
Round 2: Ch 3, (counts as first dtr) 2 dtr in same st, then work 3 dtr in each st to end of round. Join with sl st into top of ch-2 to complete round. (36 sts -12 groups of 3-dtrs).
Round 3: Attach colour 2 in any st from previous round. Ch 2 (counts as first tr). Work 1 tr into each st around. Sl st into top of ch-2 to complete round.
For the final round you will be adding a mini-bobble edging and it is worked from the WRONG SIDE.
Round 4: Turn work over so that wrong side is facing. Ch 2 (counts as first tr), sl st into next st. Work *1 tr in next st, then 1 sl st, ch 1, into the following st*
Continue from * to * alternating the stitches around the circle. Join with a sl st to the first tr st. Fasten off.
Blocking
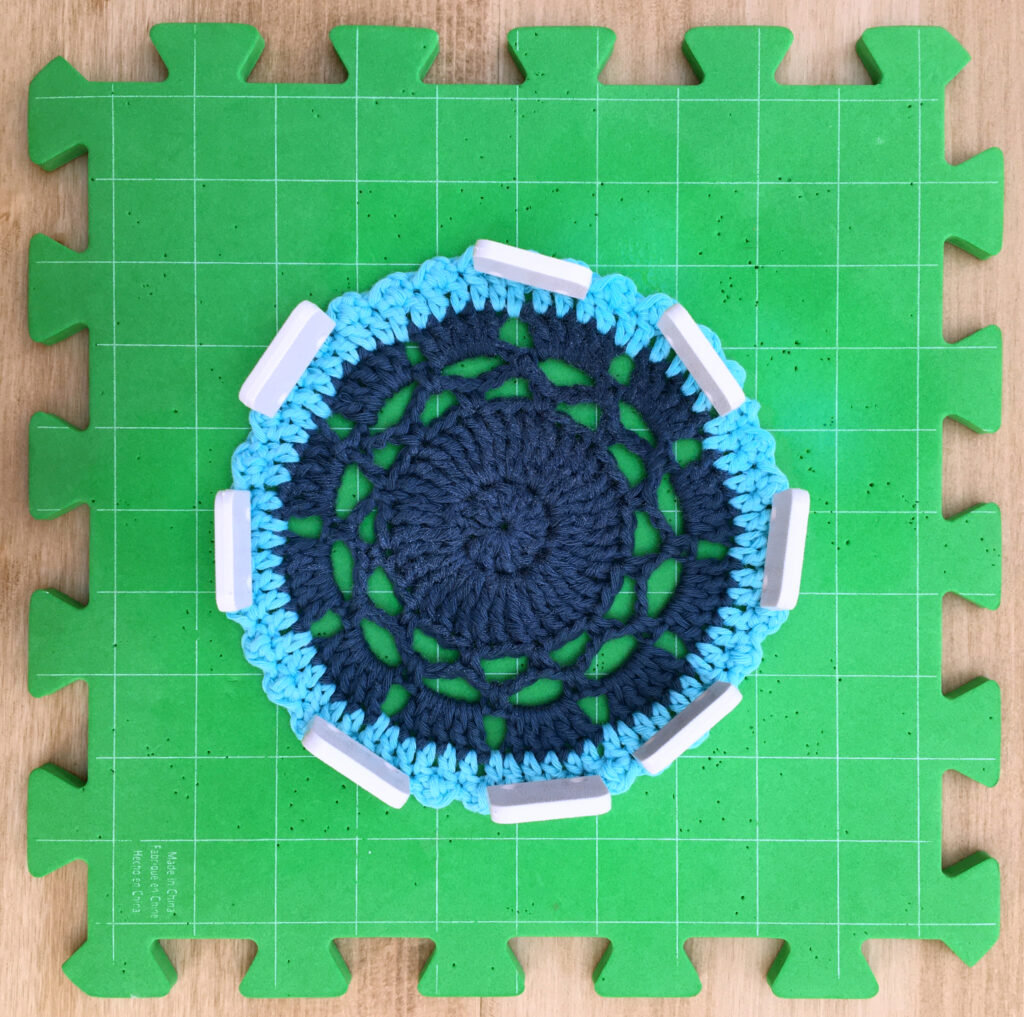
Blocking your coasters will help to set the finished size and even out the stitches.
- Darn in all ends (on wrong-side) ready to ‘block’.
- Lay your coaster on a blocking mat or folded towels. Using a water spritzer, spray and dampen thoroughly all over.
- Gently ease out the coaster and pin around the edge.
- Leave to dry completely before removing the pins.